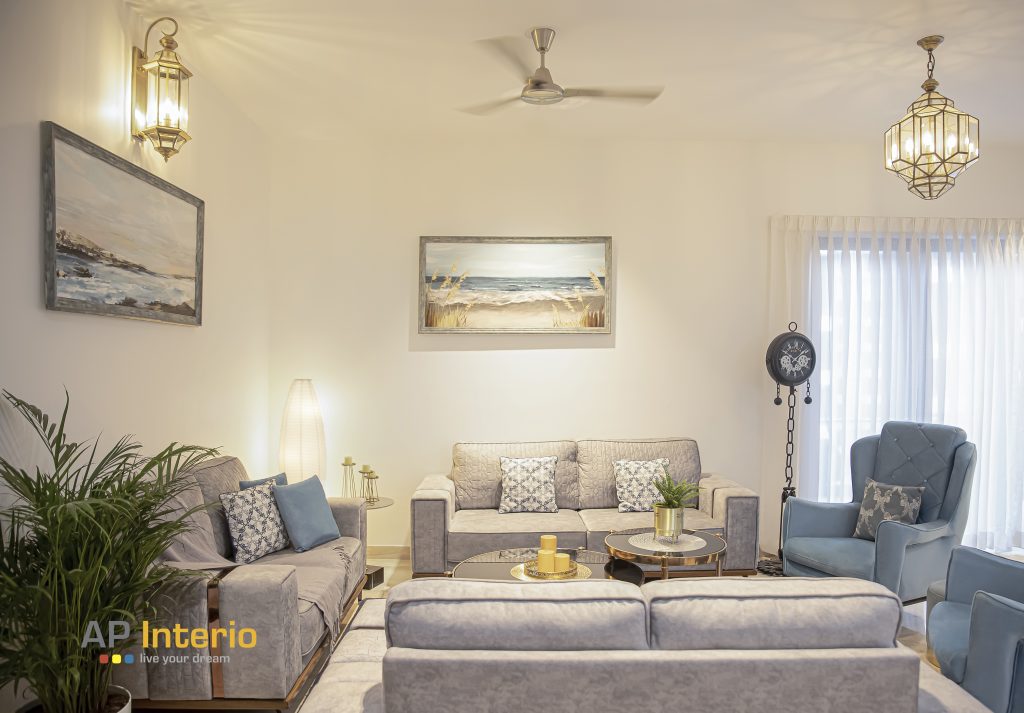

A basement remodel can turn underused square footage into comfortable living space without expanding your home’s footprint. Good results depend on planning moisture control, utilities, building requirements, and room use before decorative choices. Starting with those fundamentals also reduces expensive changes after construction begins.
Direct answer: A successful lower-level renovation starts with moisture testing, radon testing, code research, and a realistic budget. Next, plan the layout around existing plumbing, HVAC, stairs, windows, and ceiling height. Complete structural and mechanical work before installing drywall, flooring, lighting, storage, and decorative finishes.
| Planning factor | What to consider | Why it matters |
|---|---|---|
| Typical 2026 cost | Roughly $12,000–$38,000 for many projects | Scope, location, size, and finishes create large price differences |
| Cost per square foot | Often about $25–$75 | Bathrooms and structural changes can raise costs |
| Construction time | Often 3–8 weeks for straightforward professional work | Permits and complex additions can extend schedules |
| Moisture | Leaks, humidity, drainage, sump systems | Finishing damp surfaces can trap future problems |
| Radon | Test before creating occupied living areas | Mitigation is easier before walls and floors are finished |
| Permits | Building, electrical, plumbing, or mechanical approvals may apply | Requirements vary by city and county |
| Best uses | Family room, office, gym, guest area, media room | Purpose should guide layout and infrastructure |
Key Takeaways
- Solve moisture and drainage problems before installing finished surfaces.
- Test for radon before converting the lower level into regularly occupied space.
- Base your budget on scope, not square footage alone.
- Check local permit and egress rules before framing bedrooms or new rooms.
- When practical, keep plumbing-heavy spaces near existing supply and drain lines.
- Choose moisture-tolerant flooring and materials suited to below-grade conditions.
- Reserve part of your budget for problems discovered after demolition.
Start With the Conditions You Cannot Easily Change
Start planning with the structure instead of colors, furniture, or flooring. Mark columns, mechanical equipment, drains, windows, stairs, ductwork, and low ceiling areas. These fixed conditions usually determine the most practical room arrangement.
Water also deserves attention before any finish work begins. The EPA recommends correcting leaks and other moisture problems before converting lower levels into living areas. Damp conditions can encourage mold growth and can damage newly installed materials.
RoomDome’s sump pump cost guide can help when groundwater management becomes part of the project. It explains replacement systems, new pits, backup options, and common installation expenses. Review that work before covering concrete floors or foundation walls.
How Much Does a Basement Remodel Cost in 2026?
National cost guides show wide ranges because these projects vary considerably. Angi reports a 2026 average near $22,888, with many projects between $12,024 and $34,651. HomeGuide places many jobs between $12,500 and $37,500.
Square-foot estimates also vary by finish level and structural complexity. Current sources commonly place remodeling around $25 to $75 per square foot. Luxury finishes, bathrooms, kitchens, foundation work, and custom construction can raise costs.
| Project level | Typical scope | Budget effect |
|---|---|---|
| Basic refresh | Paint, lighting, flooring, minor repairs | Lower |
| Standard remodel | Framing, insulation, drywall, electrical, finished flooring | Moderate |
| Expanded living area | New rooms, upgraded HVAC, custom storage | Moderate to high |
| Bathroom addition | Plumbing, fixtures, ventilation, waterproof finishes | High |
| Major renovation | Structural changes, extensive plumbing, premium finishes | Highest |
Set aside a contingency instead of committing every dollar before demolition. Hidden moisture, damaged framing, old wiring, or foundation repairs can surface once you open the walls. A reserve gives you room to fix those problems without sacrificing essential work.
9 Steps for Planning the Project
1. Decide How You Will Use the Space
Choose the room’s main purpose before you draw walls or buy furniture. A family lounge has different electrical needs from a gym or guest suite. Daily use should drive the layout, not an attractive inspiration photo.
For entertainment-focused spaces, RoomDome’s man cave ideas guide offers practical examples for seating, lighting, sound, storage, and media zones. Those same principles can work for family rooms and multipurpose spaces. Adapt the ideas to your household instead of copying every feature.
2. Check for Water and Humidity Problems
Look for stains, efflorescence, musty odors, cracks, condensation, and previous flood damage. Inspect gutters, downspouts, grading, plumbing, and sump equipment when moisture is present. Fix the cause before hiding the affected surfaces.
The EPA recommends managing exterior water and allowing building assemblies to dry properly. Drainage corrections may include grading changes, downspout extensions, sealing, or drainage systems. Solutions depend on how water reaches the structure.
3. Test for Radon Before Finishing
Radon testing belongs early in the project schedule. The EPA recommends testing the lowest lived-in level, especially before converting unfinished space. Mitigation work is generally easier before new walls and flooring block access.
Retesting after major work also makes sense because renovations can change airflow. The EPA recommends action when testing shows levels at or above 4 pCi/L. Follow current federal guidance and your state radon program.
4. Check Local Permit and Egress Requirements
Permit requirements differ across the United States. Electrical, plumbing, structural work, new bedrooms, and HVAC changes commonly trigger local review. Contact your city or county building department before construction.
Sleeping rooms often have additional emergency escape requirements. Local rules can govern window dimensions, sill height, smoke alarms, ceiling height, and other safety details. Never assume another city’s published requirements apply to your property.
5. Build the Layout Around Existing Systems
Keeping new plumbing near existing pipes can reduce demolition and labor. Mechanical equipment also needs proper clearances and service access. Avoid creating a beautiful layout that makes future maintenance difficult.
Think about traffic paths before framing new rooms. Doors should not conflict with stairs, furniture, or utility access. Open areas can often make a lower level feel larger and brighter.
6. Plan Electrical, Lighting, and HVAC Early
Lighting matters more below grade because natural daylight is often limited. Combine general lighting with task fixtures and accent lighting. Plan outlets for televisions, desks, exercise equipment, charging, and future furniture arrangements.
RoomDome’s home improvement guide discusses layered lighting as a practical way to improve room function. Its accent wall guide can also help after the construction plan is settled. Make decorative lighting decisions after you confirm electrical locations.
Heating, cooling, and ventilation should support the new room’s intended use. The EPA recommends including remodeled lower levels within the home’s ventilation strategy. Also check combustion equipment when renovations change airflow.
7. Choose Materials for Below-Grade Conditions
Material selection should reflect the possibility of moisture rather than copying an upstairs room. Flooring should tolerate slab conditions. Wall assemblies should follow suitable local building practices.
Carpet requires extra caution where chronic dampness exists. The EPA warns that moisture can become trapped beneath carpet installed over concrete. Address slab moisture before choosing any finished floor.
8. Separate Essentials From Optional Upgrades
Create three budget groups before requesting contractor quotes. The first should contain safety, moisture, structural, and code work. The second can cover comfort, while the third holds decorative upgrades.
This approach makes cost reductions easier when bids exceed expectations. You can postpone built-ins, premium finishes, or specialty lighting without compromising essential construction. It also prevents attractive extras from consuming money needed for hidden repairs.
9. Get Detailed Contractor Quotes
Ask contractors to separate labor, materials, allowances, permits, and major subcontractor work. Confirm which items the homeowner must purchase or arrange. A detailed scope makes competing bids easier to compare.
Ask how changes will be priced after work begins. Also confirm payment stages, inspections, cleanup, warranty terms, and the expected construction sequence. Written details reduce disagreements later.
Practical Room Ideas That Fit Different Households
The most useful design depends on who will use the finished area. Families may value flexible zones that change as children grow. Homeowners working remotely may prefer quieter enclosed space.
Common options include the following.
- Family television and game room
- Home office with built-in storage
- Exercise or yoga area
- Guest room where local sleeping-room rules permit
- Children’s play space
- Hobby or craft room
- Home theater
- Laundry and storage combination
- Reading room
- Entertainment area with a compact wet bar
Avoid dividing every square foot into small enclosed rooms. Fewer partitions can improve sightlines and help available daylight travel farther. Use furniture, rugs, lighting, or storage to define zones when walls are unnecessary.
How Long Does the Work Usually Take?

Professional finishing work often takes several weeks after construction begins. Angi reports roughly three to eight weeks for many projects, with about five weeks as an average. Plumbing, permits, inspections, custom features, and contractor schedules can extend the timeline.
Planning and permit time may occur before that construction window. More complex projects can take several months from design through final inspection. Ask contractors whether their quoted schedule includes permitting, material lead times, and inspection delays.
Where to Save and Where Not to Cut Costs
Paint, decorative fixtures, furniture, and some simple finish work can offer sensible savings. Reusing serviceable doors or choosing standard-size materials may also reduce costs. Prioritize spending where future repairs would require demolition.
Avoid cutting corners on moisture control, structural changes, electrical work, plumbing, ventilation, or required safety features. These systems affect the durability and usability of the finished area. Qualified professionals should handle work that requires licenses, specialized knowledge, or inspections.
Frequently Asked Questions
What should I do first for a basement remodel?
Start by checking water problems, humidity, radon, structural conditions, and local requirements. Then decide how you’ll use the finished area. Build the budget and floor plan around those findings.
Is remodeling a lower level worth the money?
The answer depends on how much useful living space the project creates. Value also depends on construction quality, local buyer preferences, and the project’s total cost. A practical room your household regularly uses can provide benefits before resale matters.
Do I need a permit to finish the space?
Simple cosmetic work may not require a permit in some jurisdictions. Framing, plumbing, wiring, HVAC modifications, or new sleeping rooms often require approvals. Confirm requirements with the local building authority before starting.
Should I finish the floor before fixing moisture?
Don’t finish a surface if you haven’t fixed the moisture source. Water can damage flooring, insulation, drywall, furniture, and stored belongings. Correct drainage or leakage problems before installing vulnerable materials.
How much money should I budget?
Current national guides place many projects around $12,000 to $38,000. Your location, size, room additions, and existing conditions can move the price considerably. Get local quotes after defining the same scope for every contractor.
Plan the Space From the Structure Out
The strongest projects solve practical problems before adding visible finishes. Start with water, air quality, utilities, code requirements, and a purpose-driven layout. Then choose finishes that support how your household will use the room.
Create a measured floor plan and a written scope before requesting final bids. Compare contractors using the same project details and allowances. That preparation gives you a clearer budget and fewer surprises once construction starts.