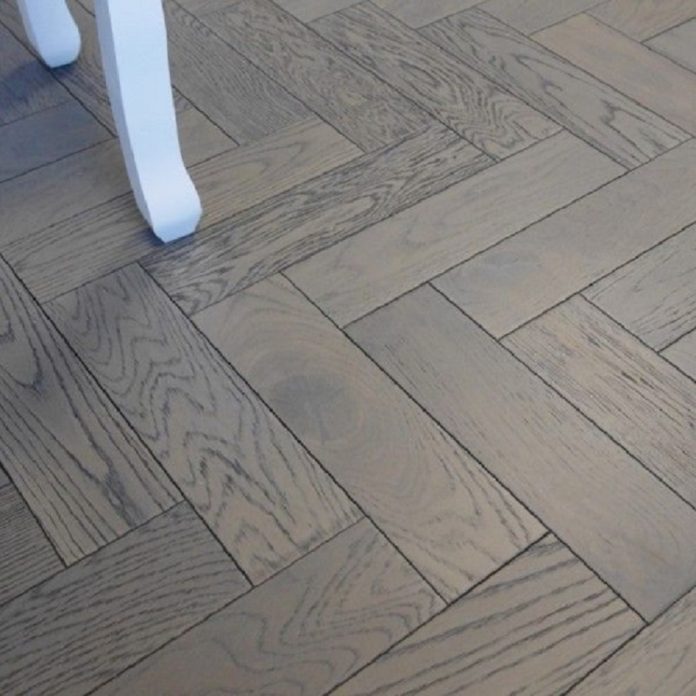
Engineered wood flooring is becoming a favourite of homeowners for various reasons. It looks as appealing as the wood floor but can be laid at a cost effective price. It doesn’t warp or swell with moisture fluctuations as the solid wood flooring does. And it is easy to install so any DIY enthusiast can effortlessly lay it if you have the correct equipment and follow the right instructions.
So here we bring to you the step by step process of installing your engineered oak flooring.
What things you will need?
You will need the following items to install engineered floorboards: underlay (if you want to install for a floating floor), measuring tape, jigsaw, moisture meter, PVA glue (for floating tongue & groove installation), spirit level and adjustable spacers.
Apart from the above mentioned things, you would also need- adhesive (stick down installation), sliding square, floor tensioners or ratchet straps, vacuum cleaner, mitre saw, pencil and flooring pull bars.
Hand saw or electric saw, wood chisel, mallet, cloth for glue installation, dustpan and brush are the other items that we will be using. You can easily find these items at any hardware shop.
Getting ready to lay engineered wood flooring
There are a few things you need to do before you start to install the floorboards. To begin with, you need to examine the room’s moisture level. Wood flooring can bend or cusp or swell due to moisture and temperature fluctuations. You can check manufacturer guidelines to make sure the moisture level inside the subfloor and the room is appropriate for laying the floorboards.
The subfloor should be clean, dry and level and there shouldn’t be any dust. As per your
subfloor, you may also need to put a waterproofing membrane. The next step is to adapt your flooring. Place the floorboards in the area where they will be fitted. Allow at least two days for the boards to settle into their new surroundings.
If you don’t take care of the above mentioned steps, your new engineered oak flooring may change form after installation, it can bend, crack or swell. Underfloor heating (UFH) system can be used along with engineered flooring. For this,
we recommend that you refer to the manufacturer’s specifications for the chosen flooring and UFH system for further information.
How to install Engineered wood flooring
Before starting the installation, be sure to refer to the manufacturer’s guide completely.
Some boards may have bigger knots, which are better visually placed near the room’s edge instead of in the middle of the room.
Leave a 10mm space between the wall all around and the floor to allow for expansion of the wood. If there are radiator pipes or other objects you will need to cut around. It’s recommended to install the engineered flooring parallel to the light entering the area as it will highlight the features of the grain.
Note: This method of installation is not suitable for herringbone engineered flooring as the layout is different.
If you are putting underlay, you need to install it before you install the floorboards. With floating installations, it is always better to lay an underlayment. Begin installing your floorboards from one end. The ‘groove’ side of the tongue and groove flooring is placed against the wall. Use spacers to maintain a constant expansion gap against the wall. If you are glueing the boards together, apply the adhesive to the groove rather than the tongue. This results in a wider spread and a more durable joint. Fit the tongue of the floorboard in at a 30 degree angle before lowering it. You can clean the extra glue using a cloth.
This way, you will reach the end of the wall and will have to cut the board as per the size required. You can use the pencil and square to mark and cut it properly. Keep going the same way until you cover the entire room.
Are you looking for engineered, solid wood, vinyl, laminate or oak herringbone flooring? Your search will end at Floorsave. Explore their wide range of high quality flooring materials.
When laying the floorboards around the door, ensure the door opens easily. If the architrave is extending more than the skirting, you need to trim it to allow space for the underlayment and floor.
Put a piece of board upside down near the door frame. Using a wood chisel and mallet remove it whilst leaving the expansion gap.
Use beading to give a neat finishing touch. Leave the flooring for some time before you arrange your furniture.


