
Signs of damaged/broken garage door spring
There are many different ways that a garage door spring can break or lose tension, so it is essential to be aware of the signs that your garage door may need some maintenance. Some common symptoms of a broken or faulty garage door spring can include the following:
- The door opens and closes slowly.
- The door makes a lot of noise when opening or closing.
- The door doesn’t open or close at all.
If you are experiencing any of these problems, it would be good to have the springs inspected as soon as possible.
Steps to repair garage door spring
A garage door spring repair is a common project for most people. A typical garage door spring repair can take up to an hour or slightly more if your first time doing this. Most people might think that this would cost hundreds of dollars to have someone come out and fix the broken garage door spring, which is not valid. Most garages are simple enough to understand how they work and what makes them fail.
Step 1:
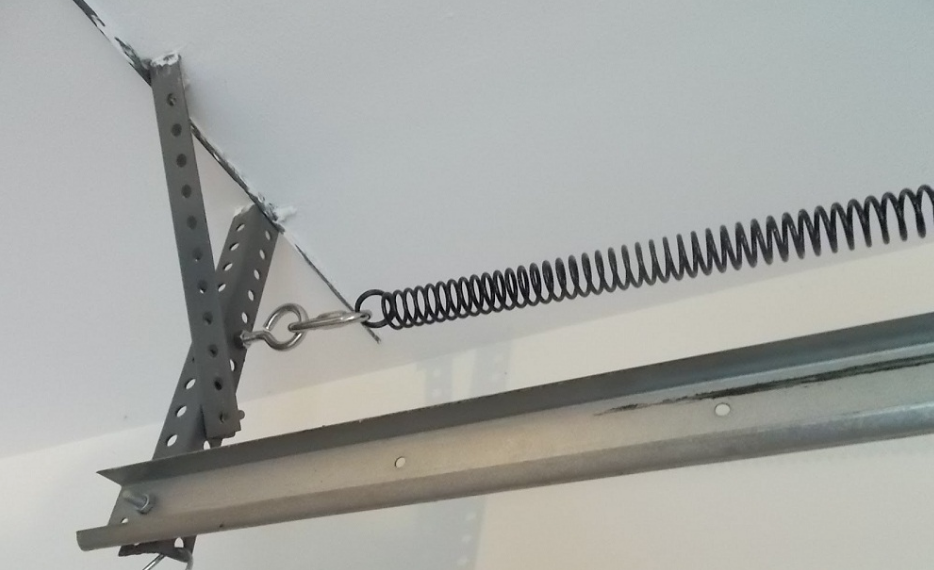
To get started with your typical garage door spring repair, you will need to locate the problem area where the springs are attached to the cables in the center of the garage door’s track system on both sides, of course. If you cannot see exactly where your problem area may be, then look closely at where there might be a dip in the track system and see if it happens to be where your springs are connected.
Step 2:
To open up your garage door to access the area, you need to remove the safety release handle by pushing down on one end of it and pulling it out from under where it was resting against the track itself. This should allow for enough clearance space now that you can now raise your garage door as far as it will go.
As soon as you do this, find some way to prop the door up safely out of your way because it could come falling off its tracks and cause damage or even injury if anyone is underneath it when this happens. Just make sure that there is no possible chance of someone being underneath the garage door when working on it.
Step 3:
Now that the garage door is safely propped open and out of your way, you can now loosen the bolts that hold the springs in place with a socket wrench. You might need to use a ladder to do this if the bolts are high up off the ground. Please don’t delete the bolts, as you will need them to put everything back together later.
Step 4:
Now that you have loosened the bolts, you can remove the springs by gently pulling them down and out of their sockets. Again, take care not to let them snap back up and hit you in the face or any other body part they might be able to reach. After they have been loosened and removed from the sockets, set them down out of your way on a flat surface.
Step 5:
After you have both of the springs removed from the door, now would be a good time to measure them with your ruler or tape measurer to find out exactly how long each one is in terms of inches. This will help later when you order new garage door torsion springs online or at a store near you that may carry replacement garage door springs as part of their inventory.
Step 6:
Once you have all the measurements written down so they won’t get lost, take note of which ones are longer than the others because this will matter later on when installing the new springs.
Step 7:
Now that everything is removed and measured, it is time to start putting the new garage door springs in place. Begin by threading one of the longer springs onto one of the bolts you loosened in step 3, and then repeat this process for the other side. Make sure that the spring is wound up all the way so it will be tight when installed.
Step 8:
After you have both of the new springs in place, it is now time to put everything back together by tightening the bolts back up with your socket wrench. Just make sure that they are nice and tight so they don’t come loose later. Now would also be an excellent time to test the door to make sure it opens and closes properly.
Step 9:
If everything seems to be working well so far, then you can now go ahead and close the garage door all the way. Now use your ladder to reach up and replace the safety release handle by screwing it back into a place where it originally was before you started working on the garage door.
Step 10:
Now would also be an excellent time to give each of the springs a good stretch by pulling them both out a few feet and then letting them go. This will help them last longer once they are installed.
Step 11:
After doing this, it’s now time to reattach the springs by slipping them back into their original sockets and then tightening the bolts back up. Test the door again to make sure everything is still working well.
Step 12:
Now that you have everything put back together, it is time to put your tools away and lower the garage door, so you can go ahead and try out your newly repaired garage door on your own. After this, remember to give the springs a good stretch now and then by pulling them out a few feet until they snap back into place. This will help ensure they last as long as possible before needing replacements again later down the road.
Final thoughts
If you ever find yourself in need of an emergency fix for your garage door due to problems with one or both of its torsion springs, then you can always try using this guide as a reference to help you get the job done. However, remember that it is always best to call a professional garage door repairer for help if you are not comfortable doing the repairs yourself.
FAQs
- What style of the torsion bar is most familiar with residential doors?
A two-piece torsion bar with residential garage doors is more common than a one-piece torsion bar. Two-piece bars are easier to install and adjust.
- How is the spring tension measured?
The spring tension can be measured by using a torque wrench.
- What are some of the common problems with springs?
Springs can break, lose tension, or sag over time.
- What should you do if you have a problem with your garage door springs?
If you have a problem with your garage door springs, contact a professional to inspect and repair the problem.
- How can you prevent damage to your torsion spring assembly?
Springs should be inspected at least once per year for wear or damage. If anything is found, they should be replaced as soon as possible.
- How can you tell if your garage door springs are broken?
A broken torsion spring assembly is evident because it will be entirely off the shaft and floor.


